

Products Description
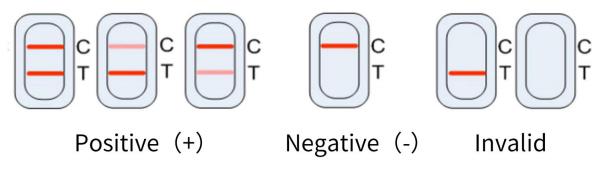
The FSTest Avian Influenza Virus Rapid Diagnostic Kit is based on sandwich lateral flow immunochromatographic assay. The test cassette has a window for result reading, which has a T (test) line and a C (control) line. Both are invisible before testing. When the sample is applied into the sample hole on the device, the liquid will laterally flow through the surface of the test strip and react with the pre-coated antibodies. If there is amount of avian influenza virus present in the sample, the T line will become visible. While the C line should always appear in the test, which indicates a valid result. By this means, the device can indicate the presence of avian influenza virus in the sample.
Specifications
Brand: FSTest
Quantity: 40 tests/kit
Shelf life: 18 months
Test: avian influenza
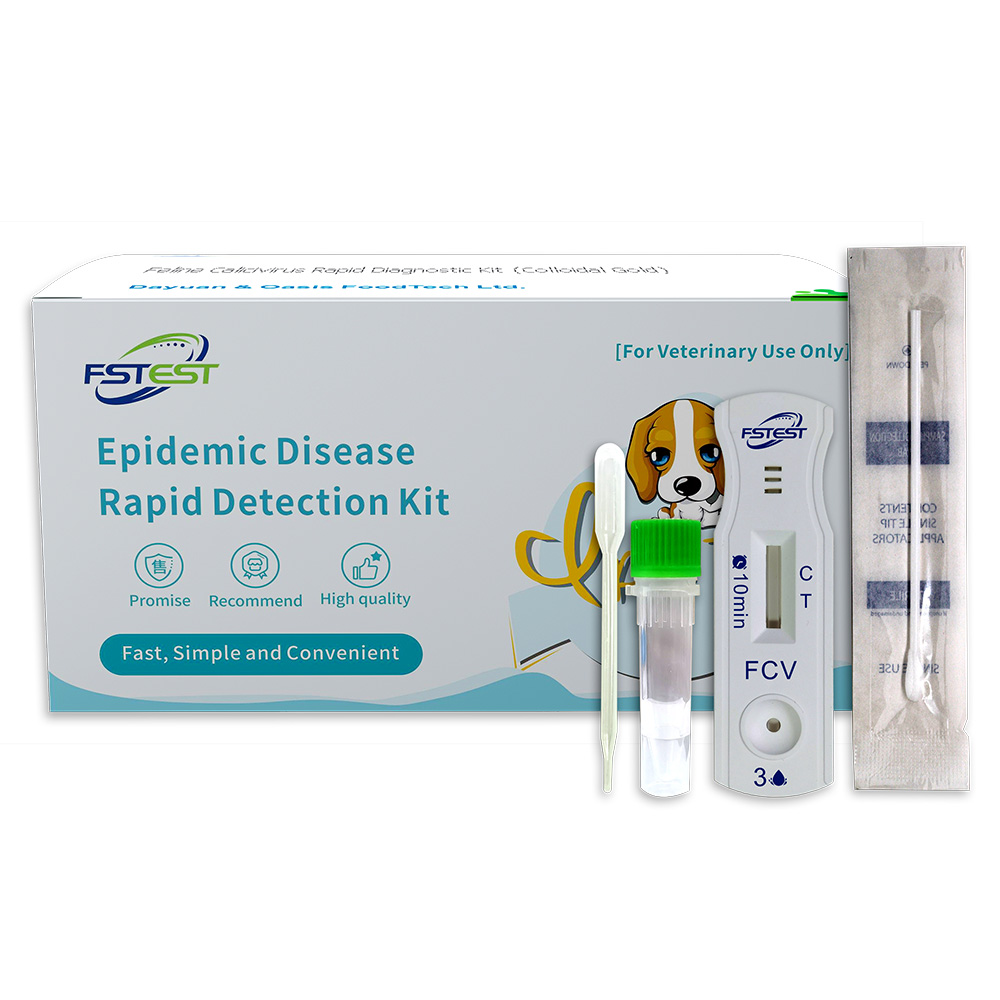
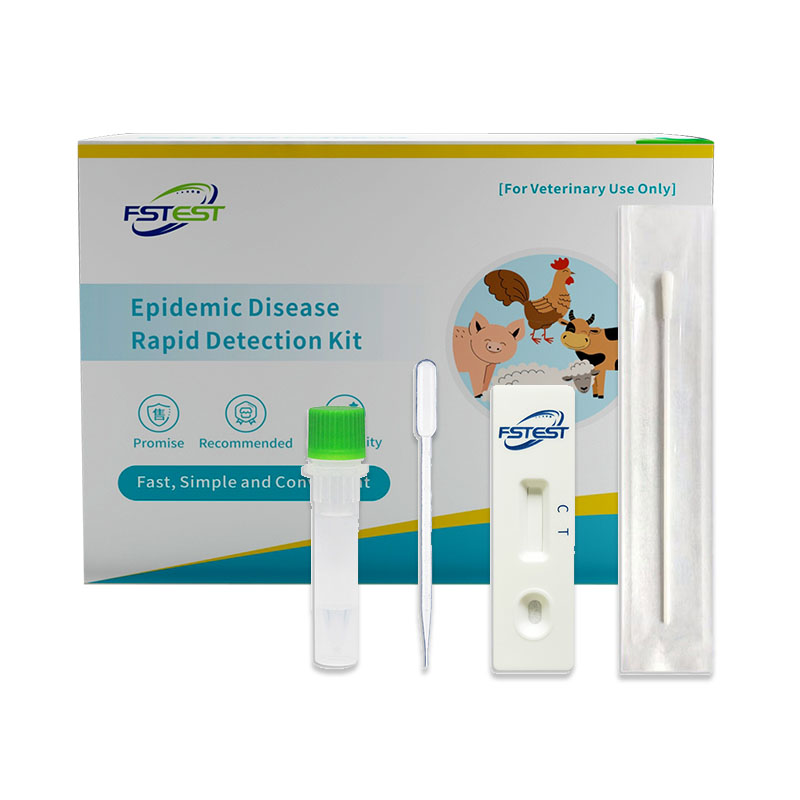
Kit Content
No. | Name | Quantity |
1 | Test cassettes | 40 |
2 | Cotton swab | 40 |
3 | Disposable dropper | 40 |
4 | Sample dilution | 40 |
5 | Instruction manual | 1 |
Feature
◇Easier: Simple operation without cumbersome steps.
◇Rapid: Result in 10 min.
◇Accurate: Highly sensitive and accuracy.
◇Certification: CE.
Application
Intended to test avian influenza virus in tracheal and cloacal swabs (or faeces) of poultry.
Testing procedure
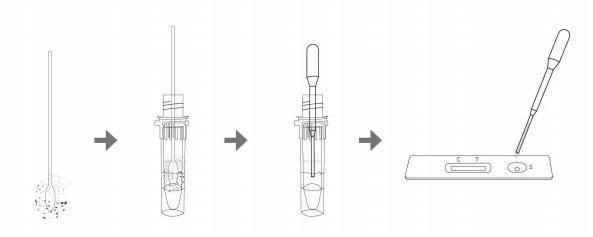
1. Insert the cotton swab for about 2-3 cm into the trachea or cloaca of the poultry. Rotate the swab onto the mucosal wall 3-5 times. An alternative is to dip the cotton swab directly into fresh feces.
2. Immediately insert the swab into the test tube containing the sample diluent and mix thoroughly. Rotate the swab forcefully against the tube wall at least 10 times to ensure thorough mixing and dissolution of the specimen.
3. Break off the cotton swab, leaving it in the test tube.
4. Allow the test tube to stand for 1-2 min to allow larger particles to settle.
5. Take out the test cassette and place it on a flat surface. Use a dropper to draw the top layer of the previous test tube and slowly add 4-5 drops into the sampling hole.
6. Leave the cassette at room temperature for 10 min and analyze the outcomes then. The results will be invalid after 15 min.
Interpretation results